Wrong Mesh Count Ruined His Print | Screen Printing Mistake That Cost Him Thousands
In the competitive world of custom t-shirt printing, the difference between a professional-looking print and a blurry mess often comes down to one critical factor: mesh count. Yet, this fundamental aspect of screen printing continues to be one of the most misunderstood elements, causing costly mistakes for printing businesses across India.
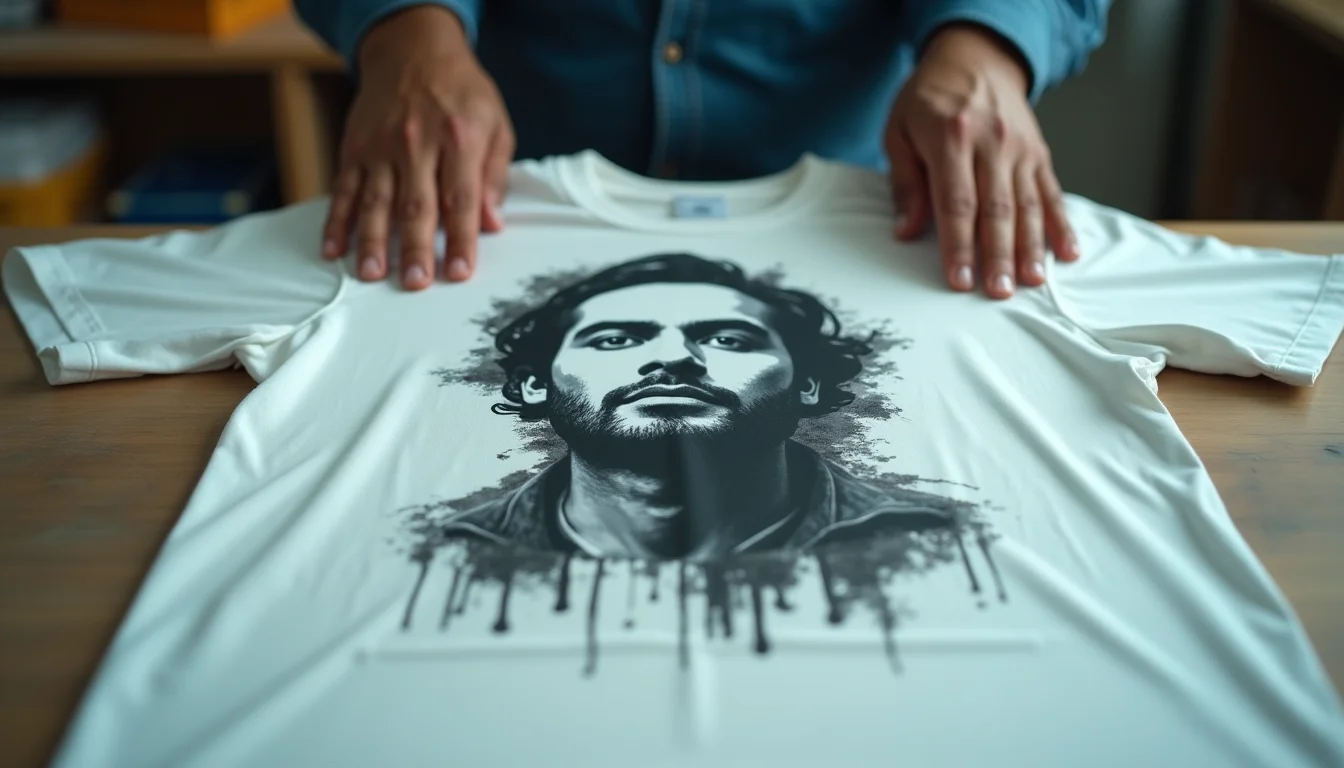
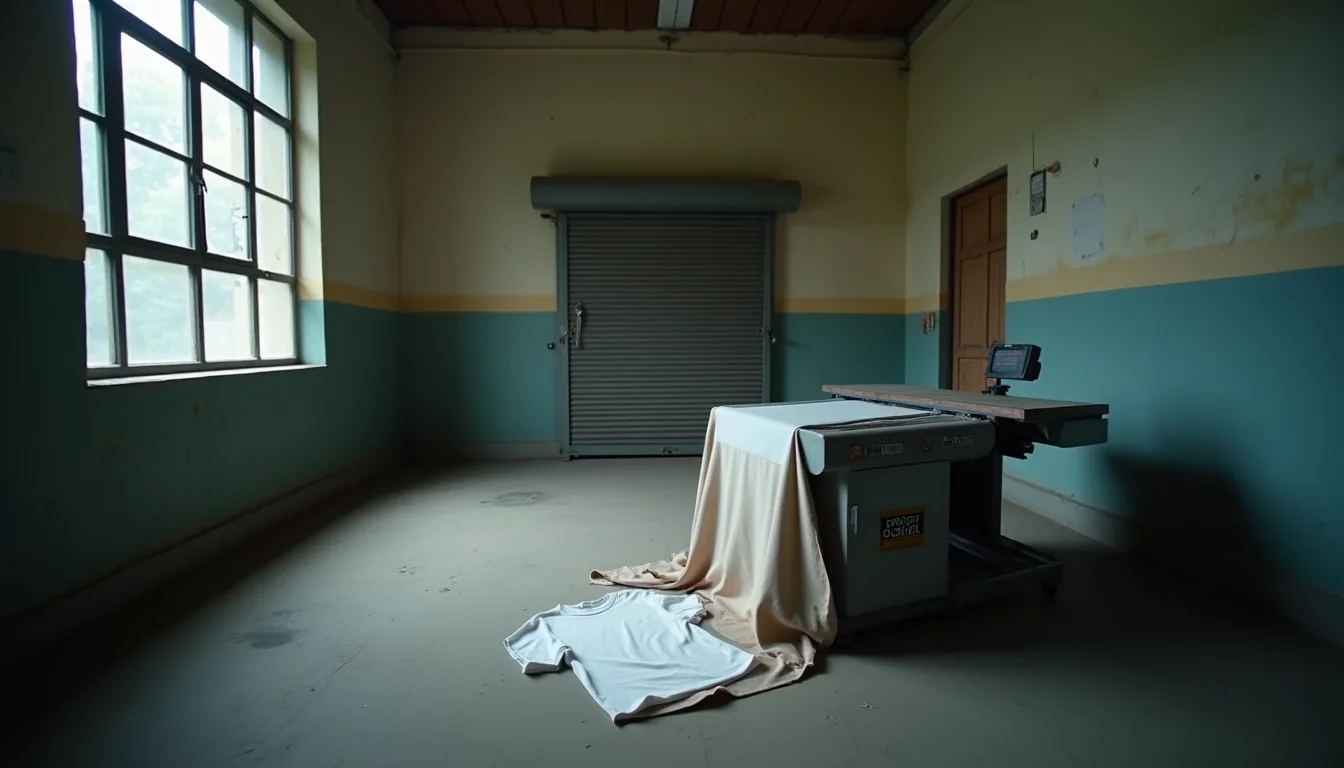
Recently, a customer approached us at Sale91.com with a heartbreaking story. He had just completed a large order of custom printed t-shirts featuring intricate portrait work and fine line details. The design looked perfect on screen, but when printed, all those delicate lines merged together into an unrecognizable blob. The culprit? He used 110 mesh count screens for a job that desperately needed 200 or 230 mesh.
This single mistake cost him not just the printing materials and labor, but also his reputation with an important client. The worst part? It was completely avoidable with proper knowledge about mesh count selection.
What Exactly Is Mesh Count in Screen Printing?
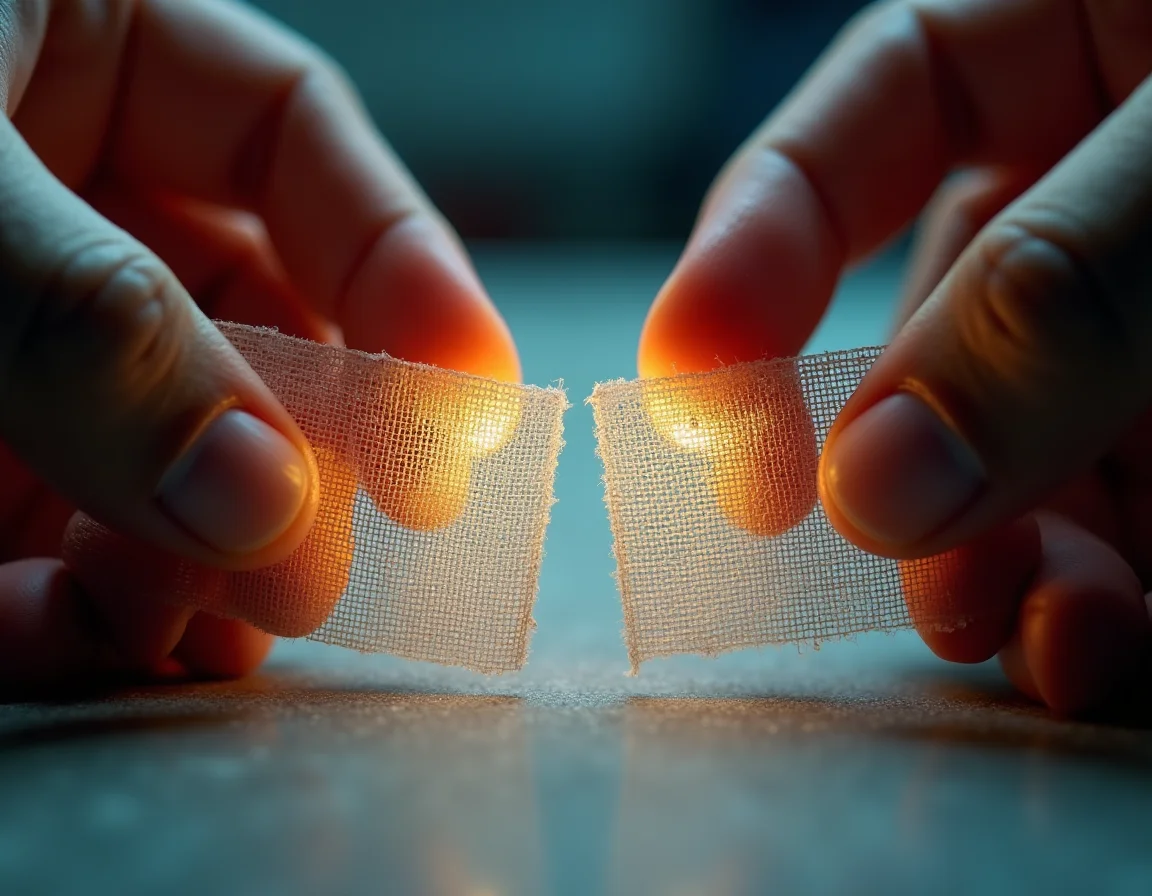
Before we dive into how to choose the right mesh count, let's understand what it actually means. In screen printing terminology, mesh count refers to the number of threads woven into one square inch of the screen fabric. This number directly determines the size of the openings through which ink can pass.
Think of it like a kitchen strainer. A coarse strainer (low mesh count) has large holes and lets chunky particles through. A fine strainer (high mesh count) has tiny holes and only lets liquid through while catching even small particles. The same principle applies to screen printing mesh.
Common Mesh Count Ranges and Their Characteristics
- 40-86 Mesh: Very coarse, used for heavy glitter inks and special effects that require thick ink deposits. Rarely used for standard t-shirt printing.
- 110-135 Mesh: Low mesh count suitable for bold text, solid colors, and designs without fine details. Provides excellent ink coverage and opacity.
- 156-180 Mesh: Medium mesh count, the workhorse of screen printing. Good for general purpose printing with moderate detail.
- 200-230 Mesh: High mesh count ideal for fine lines, detailed artwork, halftones, and multi-color process printing.
- 280-305 Mesh: Very high mesh count for extremely detailed work, photo-realistic prints, and simulated process printing.
- 355-420 Mesh: Specialty mesh for ultra-fine details, typically used with plastisol inks for the finest resolution possible.
The Most Common Mesh Count Mistake: Using 110 Mesh for Everything
Many new screen printers in India, especially those just starting their custom t-shirt printing businesses, make the critical error of using 110 mesh screens for all their printing jobs. Why? Because 110 mesh is readily available, affordable, and works well for basic text and solid color designs.
The problem arises when they try to print detailed artwork, portraits, or designs with fine lines using the same 110 mesh screens. Here's what happens:
The Detail Loss Problem: With 110 mesh, the openings in the screen are relatively large. When you expose a design with fine details, multiple lines that should remain separate end up sharing the same opening. During printing, ink flows through these larger openings and causes adjacent lines to merge together, resulting in loss of detail and clarity.
This is exactly what happened to the customer I mentioned earlier. His portrait design had fine facial features, delicate shading, and thin outline work. The 110 mesh screen couldn't differentiate between these separate elements, and they all merged into a muddy, indistinct blob on the printed t-shirt.
How to Choose the Right Mesh Count for Your Design
Selecting the appropriate mesh count isn't rocket science, but it does require you to analyze your design before you start the printing process. Here's a systematic approach:
Step 1: Examine Your Design Details
Look at your artwork and identify its finest elements:
- Does it have thin lines less than 1mm in width?
- Are there gradients or halftones requiring smooth transitions?
- Is it a photographic image or portrait with subtle details?
- Does it contain small text (below 8-point font size)?
- Are there multiple colors that need to align precisely?
If you answered yes to any of these questions, you need a higher mesh count (200 or above).
Step 2: Consider the Ink Type
Different inks have different viscosities, which affects how they flow through mesh:
- Plastisol Inks: Thicker consistency, works well with medium to high mesh counts (156-305)
- Water-Based Inks: Thinner consistency, requires higher mesh counts (200-305) to prevent excessive ink deposit
- Discharge Inks: Similar to water-based, needs 200+ mesh for controlled application
- Specialty Inks (Glitter, Puff): Very thick, requires lower mesh counts (40-110)
Step 3: Factor in the Fabric Color
This is where many screen printers make their second critical mistake. The mesh count you choose affects the thickness of ink deposit, which in turn affects how well your print shows up on different fabric colors.
When printing on light-colored t-shirts (white, beige, light gray, pastel shades), you can use higher mesh counts (200-230) even for colored designs because the light background provides contrast. The thinner ink deposit from high mesh screens is sufficient.
However, when printing on dark-colored t-shirts (black, navy, dark brown, maroon), the same high mesh count that worked beautifully on white will produce a semi-transparent, washed-out print. Dark fabric colors "show through" thin ink layers, reducing vibrancy and opacity.
"As mesh count increases, ink deposit gets thinner. On dark fabrics, you'll need a separate underbase layer or multiple passes to achieve proper opacity and color vibrancy."
Step 4: Match Mesh Count to Design Type
Here's a practical quick-reference guide for Indian screen printers:
- Simple text and logos (no gradients): 110-156 mesh
- Detailed text with fine serifs: 180-200 mesh
- Spot color designs with moderate detail: 156-180 mesh
- Designs with fine lines and small elements: 200-230 mesh
- Halftone and gradient work: 230-280 mesh
- Photo-realistic prints and portraits: 280-305 mesh
- Process color (CMYK) printing: 305+ mesh
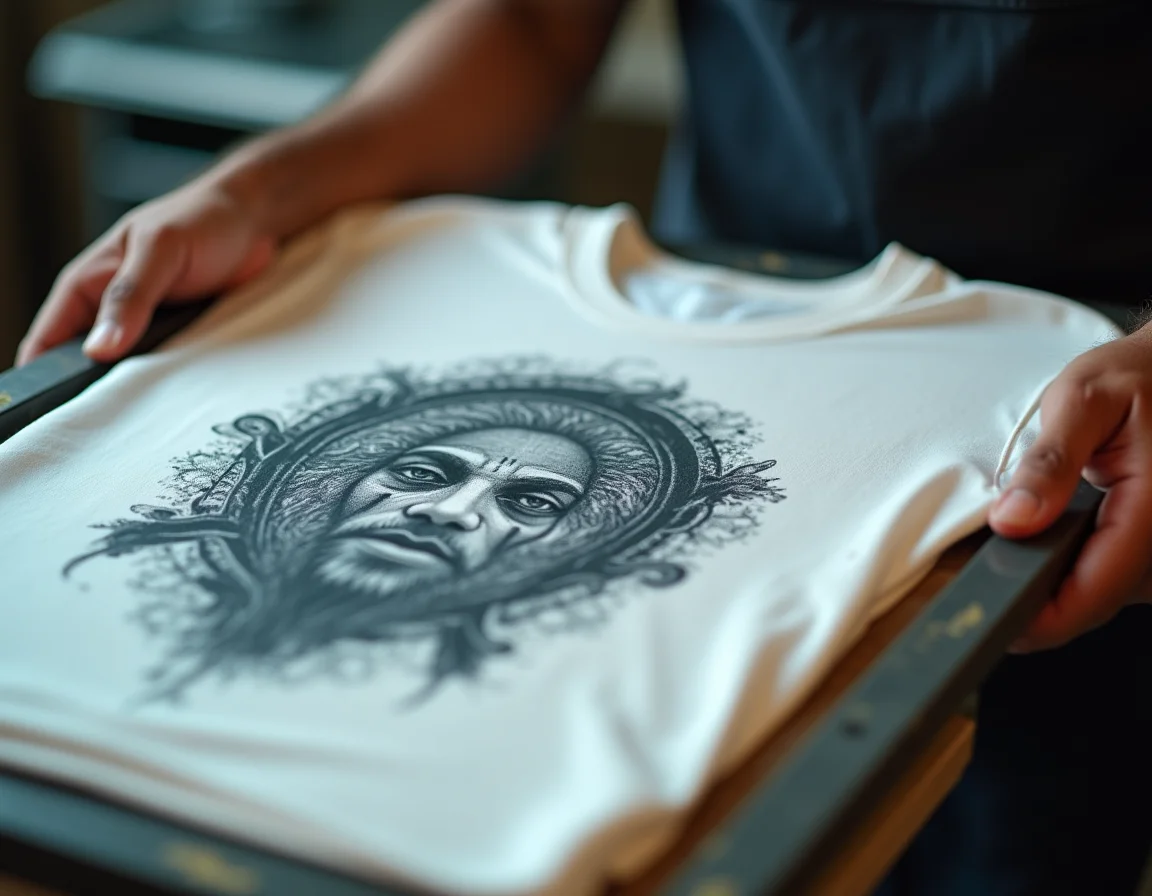
The Underbase Strategy for Dark Garments
When you're working with detailed designs on dark-colored plain t-shirts from Sale91.com, you'll often need to use a two-layer printing approach:
- Underbase Layer: Print a white base layer using 110-156 mesh to lay down a thick, opaque foundation of white ink on the dark fabric
- Detail Layer: Once the underbase is dried or flashed, print your detailed design on top using 200-230 mesh to capture all the fine details
This approach gives you the best of both worlds: opacity from the thick underbase and sharp details from the fine mesh top layer.
Real-World Application: Mesh Count Selection for Common Jobs
Let's look at some typical printing scenarios that custom t-shirt businesses in India encounter and the appropriate mesh count choices:
Scenario 1: College Event T-Shirts with Bold Text and Logo
Design characteristics: Large text (event name), simple geometric logo, 2 spot colors, printing on white t-shirts
Recommended mesh count: 110-156 mesh
Reasoning: No fine details, printing on light fabric, focus on solid color coverage and durability. Lower mesh count provides excellent opacity and faster production.
Scenario 2: Boutique Brand with Illustrated Artwork
Design characteristics: Hand-drawn illustration with thin outlines, subtle shading, multiple colors, printing on various colored t-shirts
Recommended mesh count: 200-230 mesh (with 110 mesh underbase for dark shirts)
Reasoning: Fine line work requires high mesh count to maintain detail. Dark shirts will need white underbase with lower mesh for opacity, then detailed layers with high mesh.
Scenario 3: Corporate Gifting with Photo Logo
Design characteristics: Company logo with photographic elements, gradient effects, halftones, printing on navy blue premium t-shirts
Recommended mesh count: 280 mesh for halftones with 110 mesh white underbase
Reasoning: Photo-realistic elements and halftones demand very high mesh count. Navy background requires solid white underbase to prevent color contamination.
Scenario 4: Music Band Merchandise with Portrait
Design characteristics: Detailed portrait of band member, fine facial features, hair details, printing on black oversized t-shirts
Recommended mesh count: 305 mesh for portrait with 110 mesh white underbase and possibly 180 mesh highlight white
Reasoning: Portrait details require the finest mesh available. Multiple passes and layers needed for proper depth and detail on black fabric.
Technical Considerations: Mesh Count and Other Factors
Mesh Color and Dye
Screen mesh comes in different colors - white, yellow, and orange being most common. For fine detail work, many printers prefer dyed (yellow/orange) mesh because it reduces light scatter during exposure, resulting in sharper stencil edges. White mesh reflects more light and can cause slight detail loss in very fine work.
Tension Matters as Much as Count
Even the right mesh count won't save your print if the screen isn't properly tensioned. Loose screens cause print defects, registration issues, and detail loss regardless of mesh count. Aim for tension readings of 20-25 Newtons for optimal results.
Emulsion and Stencil Thickness
With higher mesh counts, you're creating smaller openings. If your emulsion layer is too thick, it can partially or fully block these tiny openings. Use thinner emulsion coats (1-2 coats over 1-2 coats) for high mesh screens, and thicker emulsion (2-3 coats over 2-3 coats) for low mesh screens.
Squeegee Hardness and Angle
Higher mesh counts require more pressure to push ink through smaller openings. Use a harder squeegee (70-80 durometer) and a steeper angle (45-60 degrees) when working with 230+ mesh. Lower mesh counts work well with softer squeegees (60-70 durometer) at shallower angles (30-45 degrees).
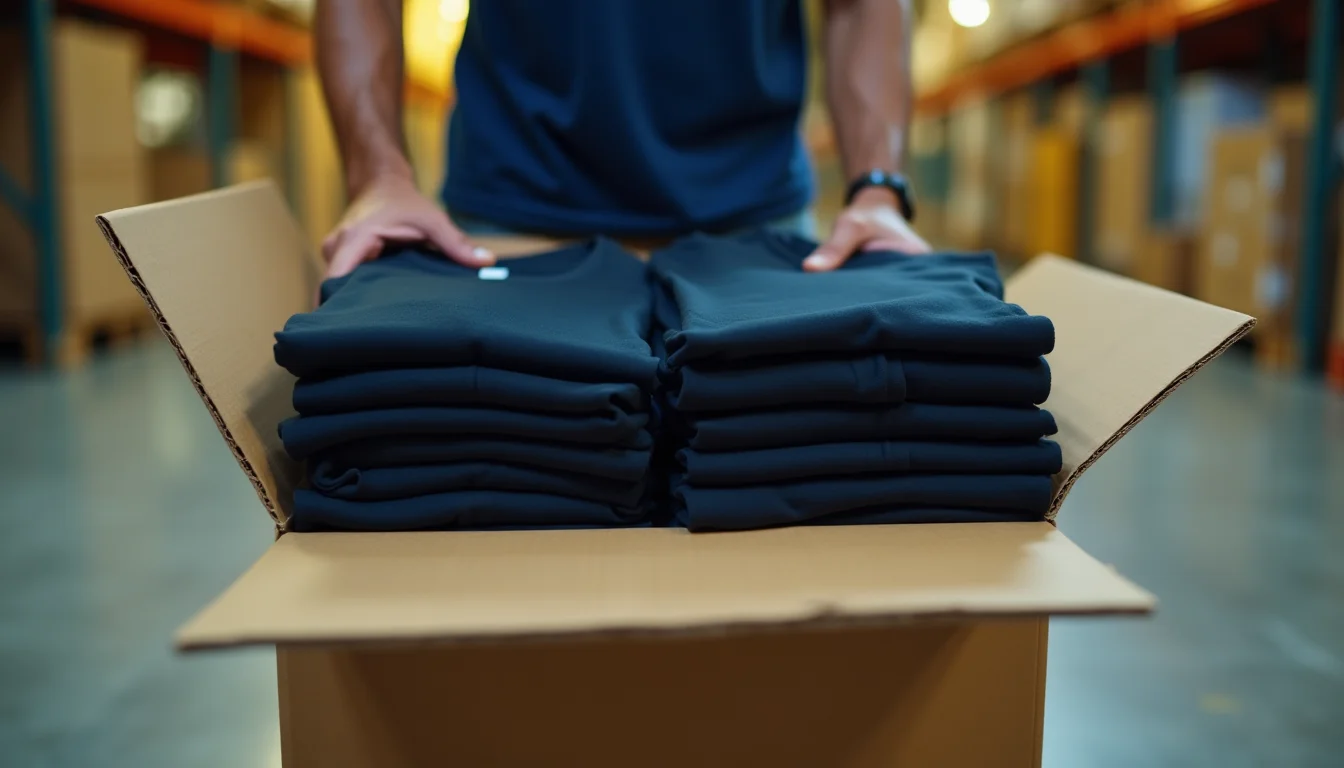
Why Quality Blank T-Shirts Matter for Screen Printing
While mesh count selection is critical for print quality, the fabric you're printing on is equally important. Poor quality t-shirts can ruin even the most perfectly executed screen print.
At Sale91.com, we manufacture premium quality plain t-shirts specifically designed for custom printing businesses. Our catalog of blank t-shirts includes:
- Bio-washed and Pre-shrunk: No shrinkage after printing means your detailed work won't distort after customer washes
- Combed Ring-spun Cotton: Smooth surface texture allows finer mesh counts to work effectively without fabric interference
- Multiple GSM Options: 180, 200, 210, 220 GSM choices let you match fabric weight to printing technique
- Consistent Quality: Uniform fabric density across all pieces prevents variation in ink absorption and print appearance
- 15+ Color Options: From bright whites perfect for high mesh prints to deep blacks ideal for showcasing your underbase technique
We maintain over 1 lakh pieces of ready stock, so whether you're doing a test run with 10 pieces or fulfilling a bulk order of 5000+ pieces, you'll get consistent fabric quality that works predictably with your chosen mesh count.
Cost Implications of Mesh Count Selection
Understanding mesh count isn't just about quality - it also affects your bottom line. Here's how:
Initial Setup Costs
Higher mesh count screens cost slightly more than lower mesh screens. However, this cost difference is minimal (typically Rs. 50-150 per screen) compared to the potential losses from ruined prints.
Ink Consumption
Lower mesh counts deposit more ink, increasing your ink costs per print. If you're using 110 mesh when 200 mesh would work, you're using approximately 40-50% more ink than necessary. For high-volume operations, this adds up quickly.
Production Speed
Lower mesh counts are generally faster to print with because ink flows more easily through larger openings. However, if you choose the wrong mesh count and have to reprint, you lose far more time than any printing speed advantage.
Rejection and Rework Costs
This is where mesh count mistakes hit hardest. A single batch of rejected prints can cost you:
- Wasted blank t-shirts (your largest material cost)
- Wasted ink and printing supplies
- Labor time for the failed run
- Labor time for the replacement run
- Rush charges if you need replacement blanks urgently
- Potential customer loss and reputation damage
For a 500-piece order on premium blank t-shirts, a mesh count mistake could easily cost Rs. 50,000-100,000 or more in wasted materials and lost profit.
Watch the Video: Visual Guide to Mesh Count Selection
To better understand the visual difference that mesh count makes and see real-world examples of the problems discussed in this article, watch our detailed video explanation:
Building a Complete Mesh Screen Library
Professional screen printing operations don't rely on just one or two mesh counts. A well-equipped printing business serving the Indian custom t-shirt market should maintain:
- 110 Mesh (6-10 screens): For underbases, bold text, solid colors
- 156 Mesh (4-6 screens): General purpose, medium detail work
- 200 Mesh (6-8 screens): Fine lines, detailed designs, most common for quality work
- 230 Mesh (4-6 screens): Halftones, very fine details
- 280+ Mesh (2-4 screens): Photo-realistic work, specialty jobs
Having multiple screens of each mesh count allows you to have different colors exposed and ready, speeding up production and allowing you to handle multiple jobs simultaneously.
Training Your Team on Mesh Count Selection
If you're running a custom t-shirt printing business with multiple employees, everyone involved in job planning needs to understand mesh count basics. Create a simple decision tree chart that your team can reference:
Quick Decision Guide:
- Is there fine detail, small text, or halftones? → Use 200+ mesh
- Is it printing on dark fabric? → Add 110 mesh underbase
- Is it simple bold text/logos only? → Use 110-156 mesh
- Is it specialty ink (glitter, puff)? → Use 40-86 mesh
Regular training sessions reviewing successful and failed prints helps build institutional knowledge about mesh count selection specific to your equipment, inks, and typical jobs.
Common Mesh Count Myths Debunked
Myth 1: "Higher Mesh Count Is Always Better"
Reality: Higher mesh counts provide finer detail but deposit less ink. For designs that need heavy ink coverage (like underbases or metallic inks), lower mesh counts are actually better.
Myth 2: "You Can Use Water-Based Ink with Any Mesh Count"
Reality: Water-based inks are thinner and will flow excessively through low mesh counts, causing bleeding and oversaturation. They work best with 200+ mesh screens.
Myth 3: "Mesh Count Doesn't Matter for Single Color Prints"
Reality: Even single-color designs can have fine details, thin lines, or halftones that require appropriate mesh count. The number of colors is irrelevant to mesh count selection.
Myth 4: "Indian Climate Doesn't Affect Mesh Count Performance"
Reality: High humidity in many parts of India can affect ink viscosity and drying times, which interacts with mesh count selection. More humid conditions may require mesh count adjustments or ink additive use.
Frequently Asked Questions About Mesh Count and Screen Printing
More Articles on T-Shirt Printing and Business


Start Your Printing Business with Quality Plain T-Shirts
Now that you understand the importance of choosing the right mesh count, ensure your prints look their best by using premium quality blank t-shirts. Sale91.com offers bio-washed, pre-shrunk, combed ring-spun cotton t-shirts in 180, 200, 210, and 220 GSM - perfect for all your screen printing needs.
Special Offers for Screen Printers:
- Rs 3/piece online discount on all quantities
- Additional Rs 2/piece discount on 500+ orders
- 1 lakh+ pieces ready stock - no waiting
- 50% COD available for first-time buyers
- MOQ as low as 10 pieces for testing
View our complete range: Browse Catalog
Final Thoughts: Master Mesh Count, Master Screen Printing
The story of the customer who lost thousands on a portrait printing job because of wrong mesh count is far from unique. Every week, screen printing businesses across India face similar setbacks due to fundamental misunderstandings about mesh count selection.
The good news? This is one of the easiest problems to solve. Unlike mastering color separation or perfecting registration, mesh count selection is a straightforward technical decision based on simple criteria: examine your design, consider your fabric, choose your mesh accordingly.
Remember these key principles:
- Fine details need high mesh counts (200-280)
- Bold, solid designs work with low mesh counts (110-156)
- Dark fabrics require underbase layers with low mesh counts
- Ink type affects optimal mesh count selection
- Quality blank t-shirts make every mesh count work better
By taking just a few extra minutes to analyze your design and choose the appropriate mesh count before starting production, you'll save yourself from costly mistakes, customer complaints, and wasted materials. Combined with premium quality plain t-shirts from Sale91.com's extensive catalog, you'll be equipped to deliver professional-quality prints that build your reputation and grow your business.
The difference between amateur and professional screen printing often comes down to these small technical details. Master mesh count selection, and you're well on your way to printing excellence.